How to create your first layout with MyMemoriesSuite (Part 2)

Welcome back for the second part of this lesson.
Open your software My Memories Suite 9
As you have already created an album, MMS9 shows it.

Click on your album to open it.
If you created other albums, you can find the one you are looking for by clicking on the button OPEN
Let's begin to work now.
We'll add the picture in your layout. There are different possibilities to do that.
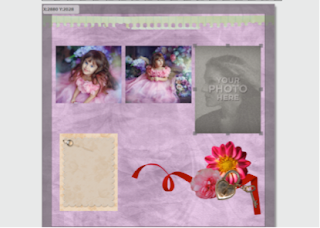
Click on the picture, drag and drag onto the frame.
As the size of the picture is different from the size of the frame, a box "photo editor" opens:
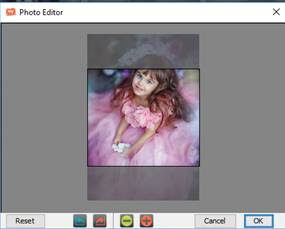
You can move the picture so that the part you want to see fir the square. Click and drag.
Then, click ok
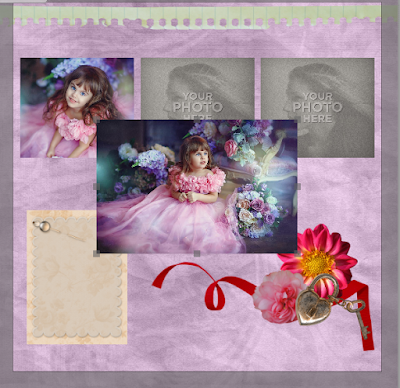
The picture inserted in the layout.
Double click on the second picture.
It's directly inserted in the layout, but it's not placed at the right place, even if you have selected the frame.
Click and drag it onto the frame.
MMS9 place the picture in the middle of the frame.
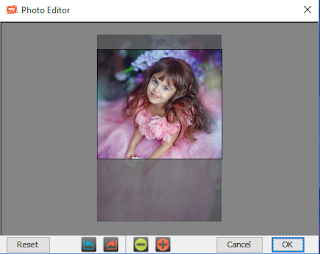
What do you have to do if you want to see the entire picture?
You have to change the size of the frame so that it fits the picture!
We'll use this one that time:

Let's try.
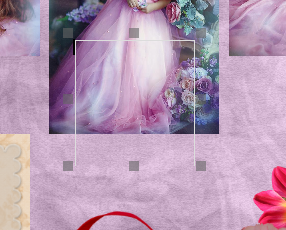
- Click on the third frame.
- As the elements, the frame is rounded with small squares that will enable you to modify it's size.
- You can click and drag on one of the middle squares to change the height or the width of the frame.
- In this case, the frame has to be higher.
Now, you can add the picture using one of the methods I showed you:
Place the higher picture in the middle
A frame is an element and it can be change it the same way.
Did you see that when you change an element, guidelines appear to help you place it correctly?
Add text
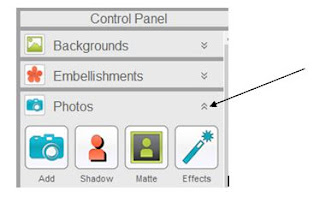
To add text to you layout, you must go to the right of the screen. There is the control panel. As we played with the photos, the photos tab in the control panel opened.
To close it, you click here:
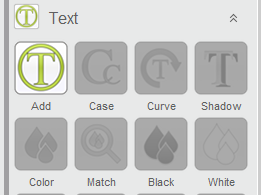
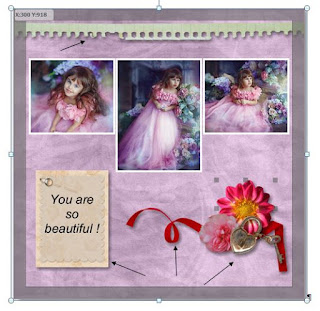
The program opens a box in the middle of the layout. Type your text. We'll place it correctly later.
Type: You are so beautiful1 Then click outside the box.
Important: if you make a mistake or if you want to change the text, you'll have to DOUBLE-click on the text box.
Place your mouse under the text. The cursor's forum changes! You can click and drag the box where you want. Place it over the tag.
You realize that your text is too small. You have all the tools to improve it in the control panel.
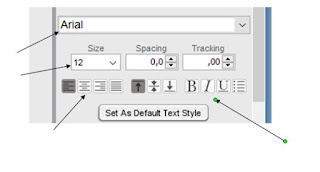
Try to make something like this:

Add frames to the photos
We'll add the same frame to the the photos.
Select the first picture. As you can see, the program opens the control panel Photos directly.
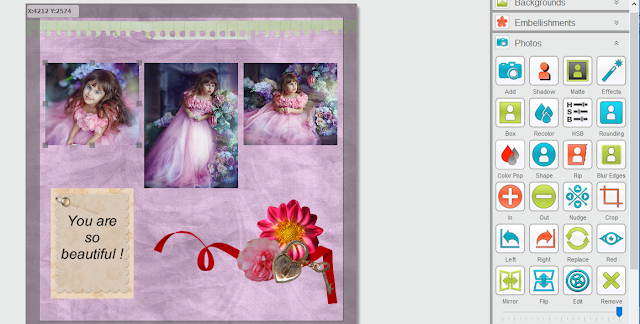
Click on button Matte (the third one).
A new window opens to let you decide which style of matte you want and it shows you a preview of the result.

You can leave value 4 and white color. You'll play with that alone later.
Important: if you want to have the same matte for every photo, click ALL photos on this page.
Then, click ok.
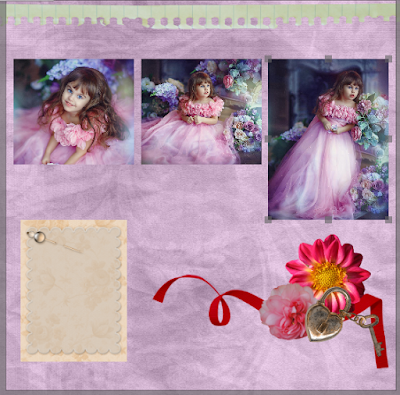
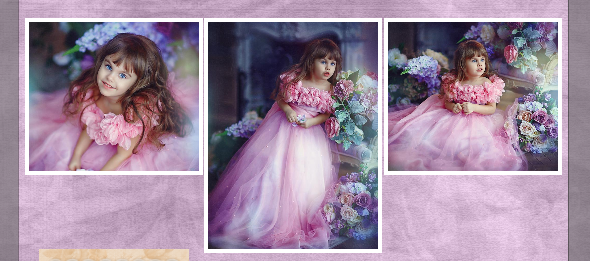
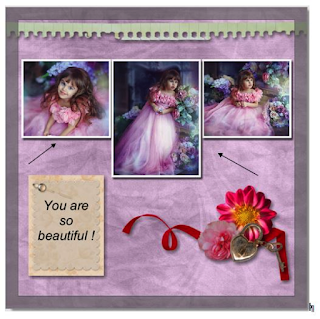
This is the result:
LAST BUT NOT LEAST: ADD SHADOW TO YOUR ELEMENTS AND PHOTOS
This is something begginers often forget, but shadow is very important to give some real life to your layout.
Select one of the elements you have added to the layout. The Embellishments tab is now opened.

Click on the button Shadow (the second one).
A new window opens to let you decide which style of shadow you want it shows you a preview of the result.
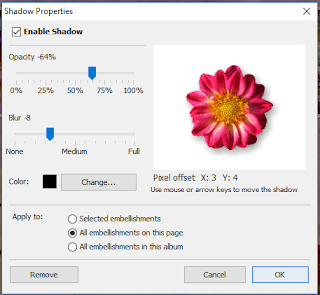
Make some changes if you want and click All embellishments on this page to apply the same shadow to all the elements.
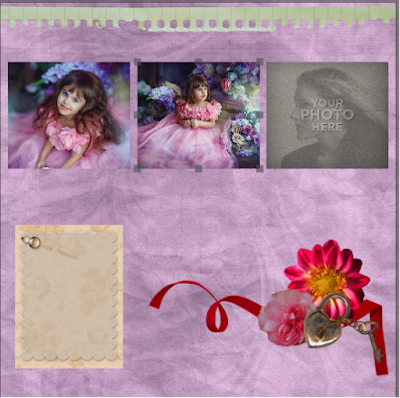
All the elements are shadowed but not the photos.
Select one photo and do the same to add shadows to all photos.
CONGRATULATIONS
Your layout is finished.
It's now more than time to save your work.
- Click on Menu File and choose Save or CTRL + S on the keyboard.
What you have saved is THE CREATION OF THE LAYOUT. IT is not a JPG file.
Export your layout as a JPG
First of all, you have to delete all the blank pages that we did not use for that exercise.

Select them.
Click on one of them with the right button of your mouse. You get a contextual menu.
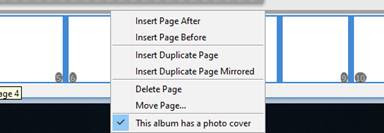
Click on Delete Page. The program asks you if you are sure. Click Yes.
Now, you can export your layout. Click on  in the menu. If the program asks you if you want to save your album, click yes. This screen appears:
in the menu. If the program asks you if you want to save your album, click yes. This screen appears: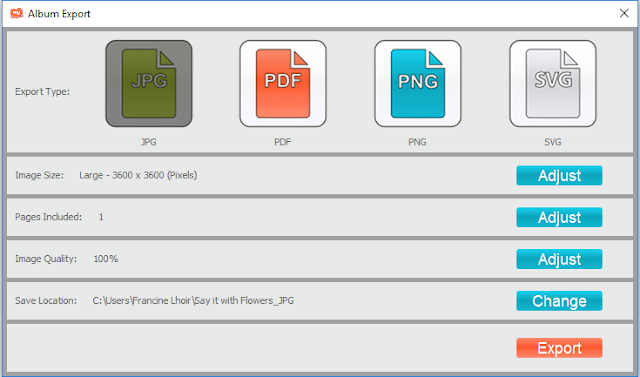
We want to export it to jpg, 3600*3600 pixels.
Where do you want to save your layout? Click button CHANGE and choose the right directory. Click SAVE. You come back to this screen.
Click button EXPORT.

Thank you so much for following my designer tip. I'll come back as soon as possible to give you other tips that will help you in your wonderful creations.
Commentaires
Enregistrer un commentaire